Steps to add custom CSS #
Add a special class to your element #
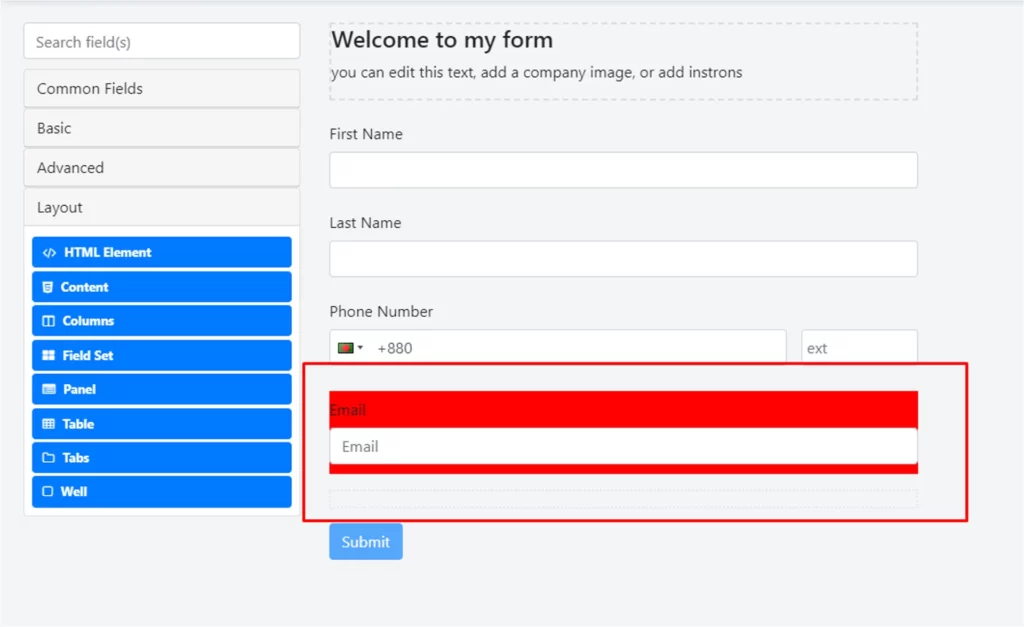
For example, you want to set the background color of the email field. Please, navigate to the settings of that field.
Add a class to that field.

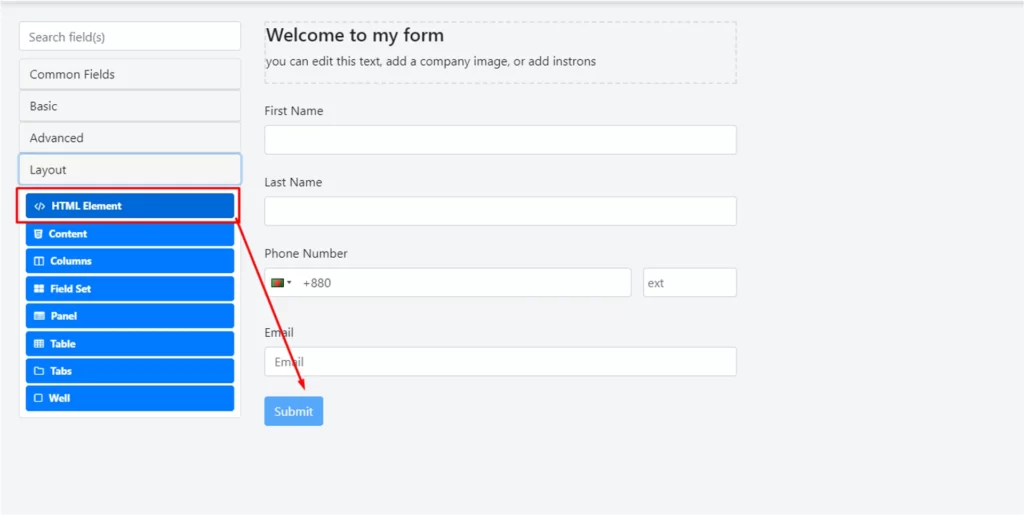
Add ‘HTML Element’ to the form builder. #
Under the ‘Layout’ section, we have the ‘HTML Element’. Please, drag that element to the form
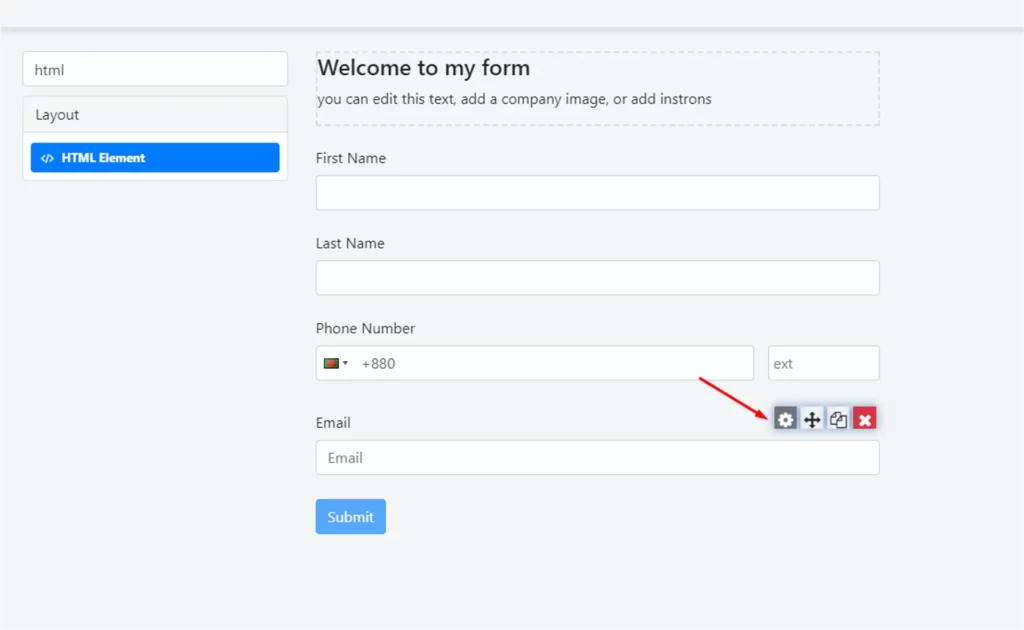
Please, navigate to the settings of the ‘HTML Element’

Add the CSS codes here

And, you will see the changes 🙂