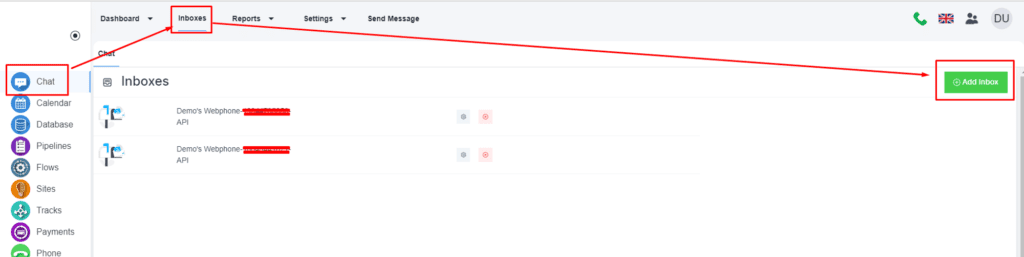
Add a new Inbox #
Please, navigate to the ‘Chat’ on the left menu bar. Once the page is opened, click on the ‘Inbox’ on the top menu bar. Finally, click on the ‘Add Inbox’ button.
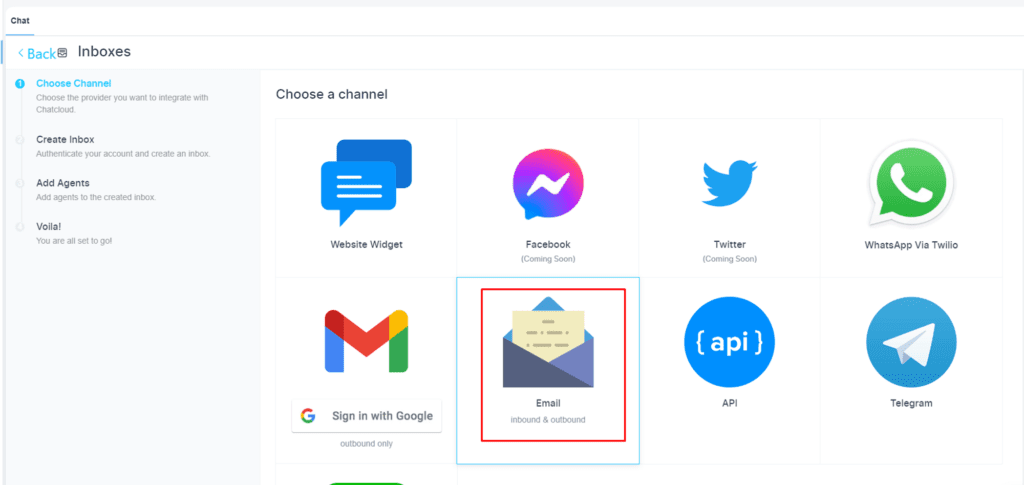
Please select the ‘Email’ option.
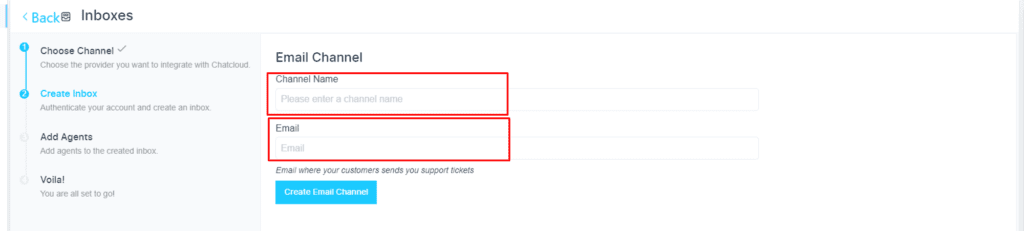
Add the Channel Name and the Email address.
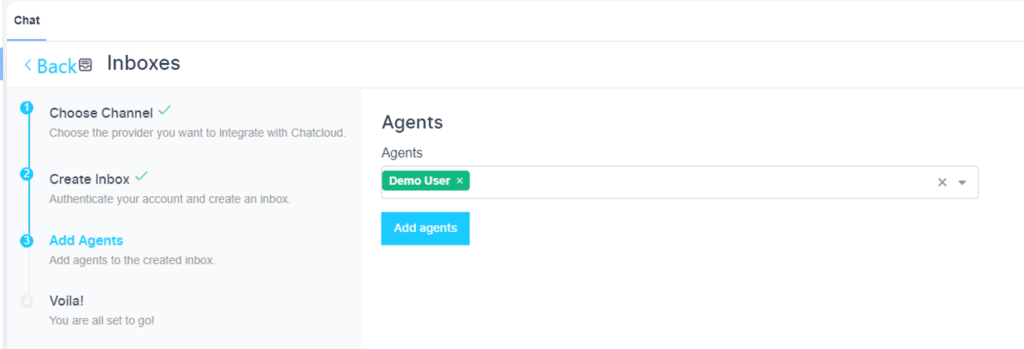
Select an agent.
Please, click on the ‘More Settings’ button.

Under the ‘Configuration’ tab, you will have the option to set IMAP and SMTP.

IMAP configuration #
Please, check the IMAP configuration check box.
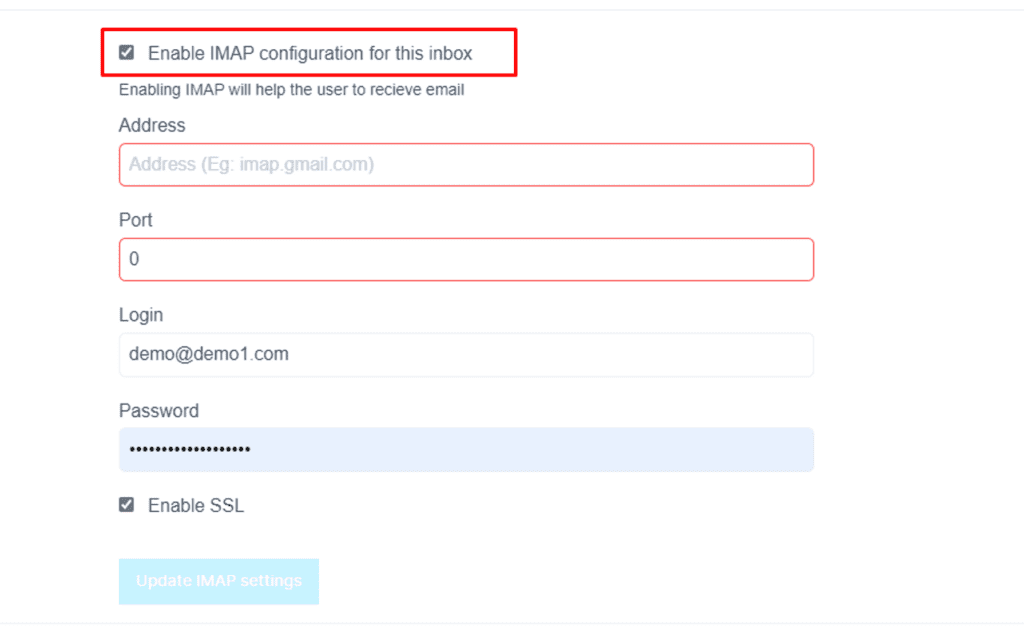
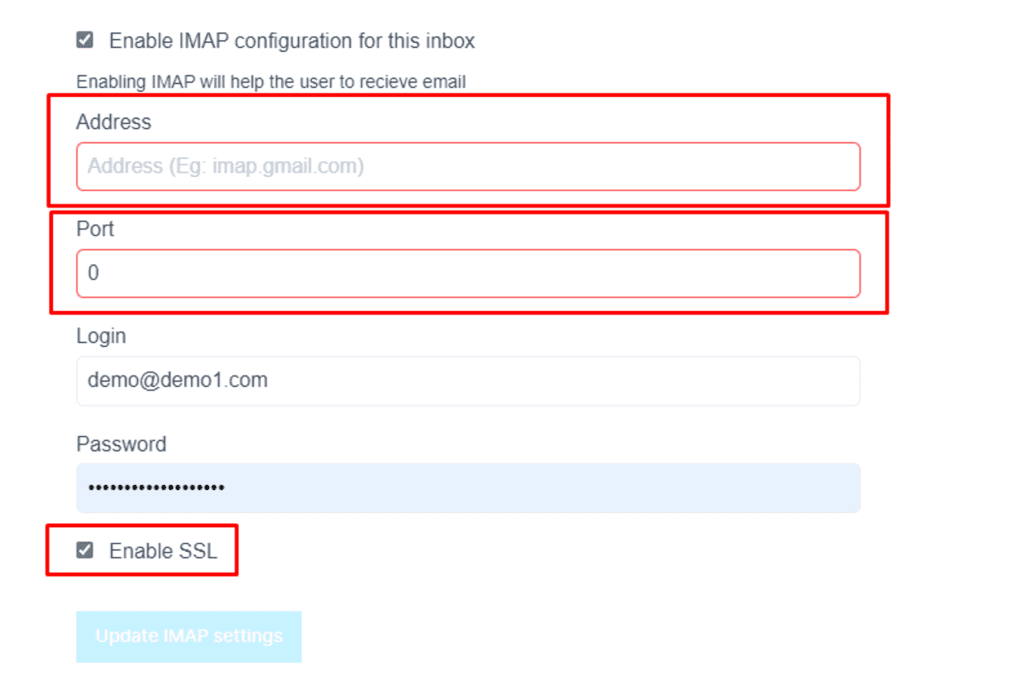
You will have to reach out to your email service provider for Address, Port and SSL. Please, confirm these details and update your IMAP Settings.
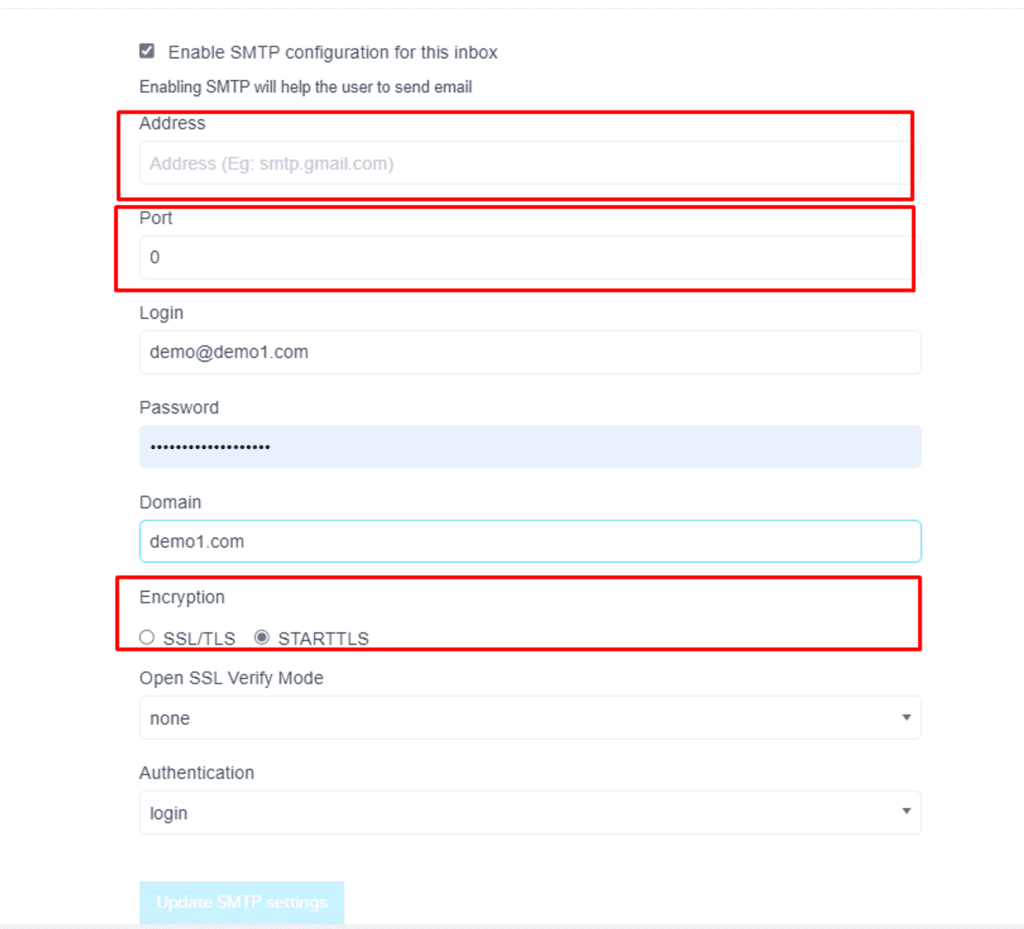
Configure SMTP details #
Please check the SMTP configuration checkbox to enable the SMTP option.
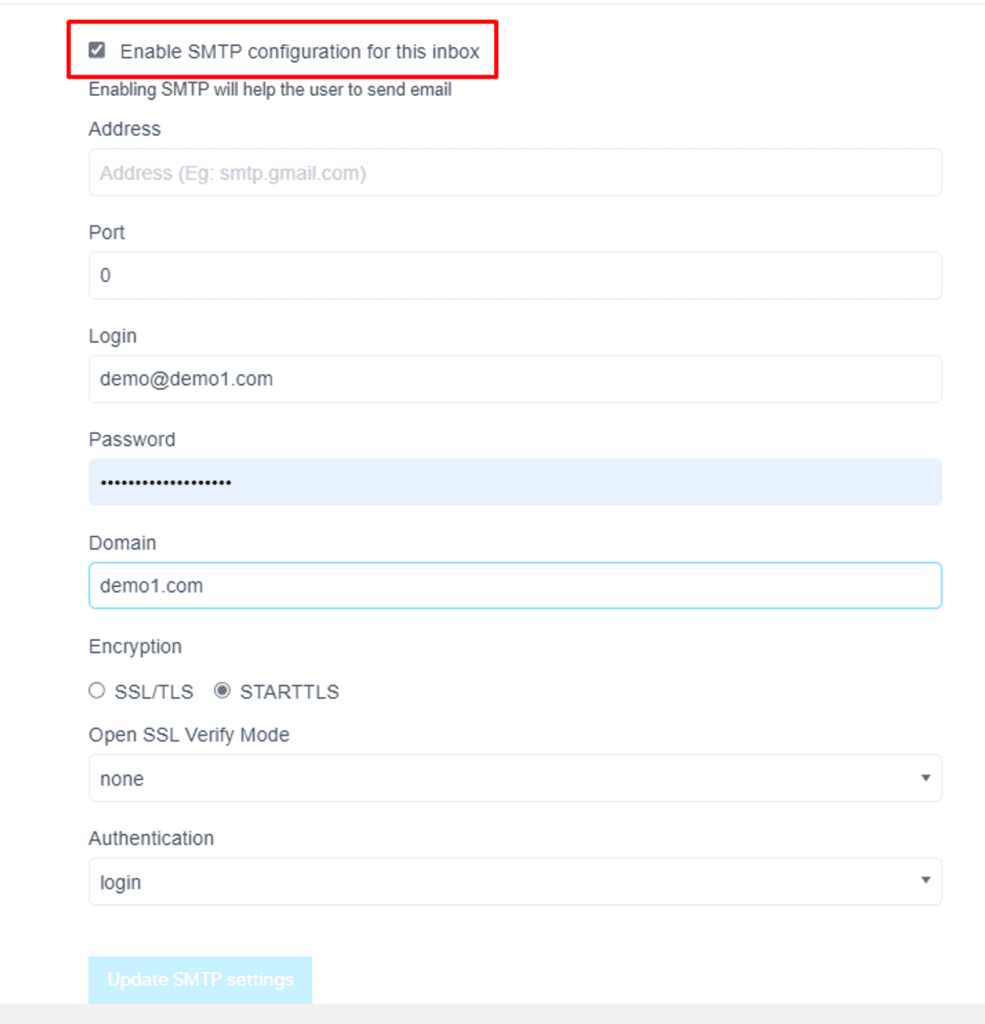
You will have to reach out to your email service provider for Address, Port, and SSL. Please, confirm these details and update your SMTP Settings.