Setting your availability ensures that customers can only book meetings during your preferred time slots. You can customize your business hours, add breaks, and define multiple time windows based on your schedule.
- Go to the Calendar tab.
- Select the specific calendar you want to edit.
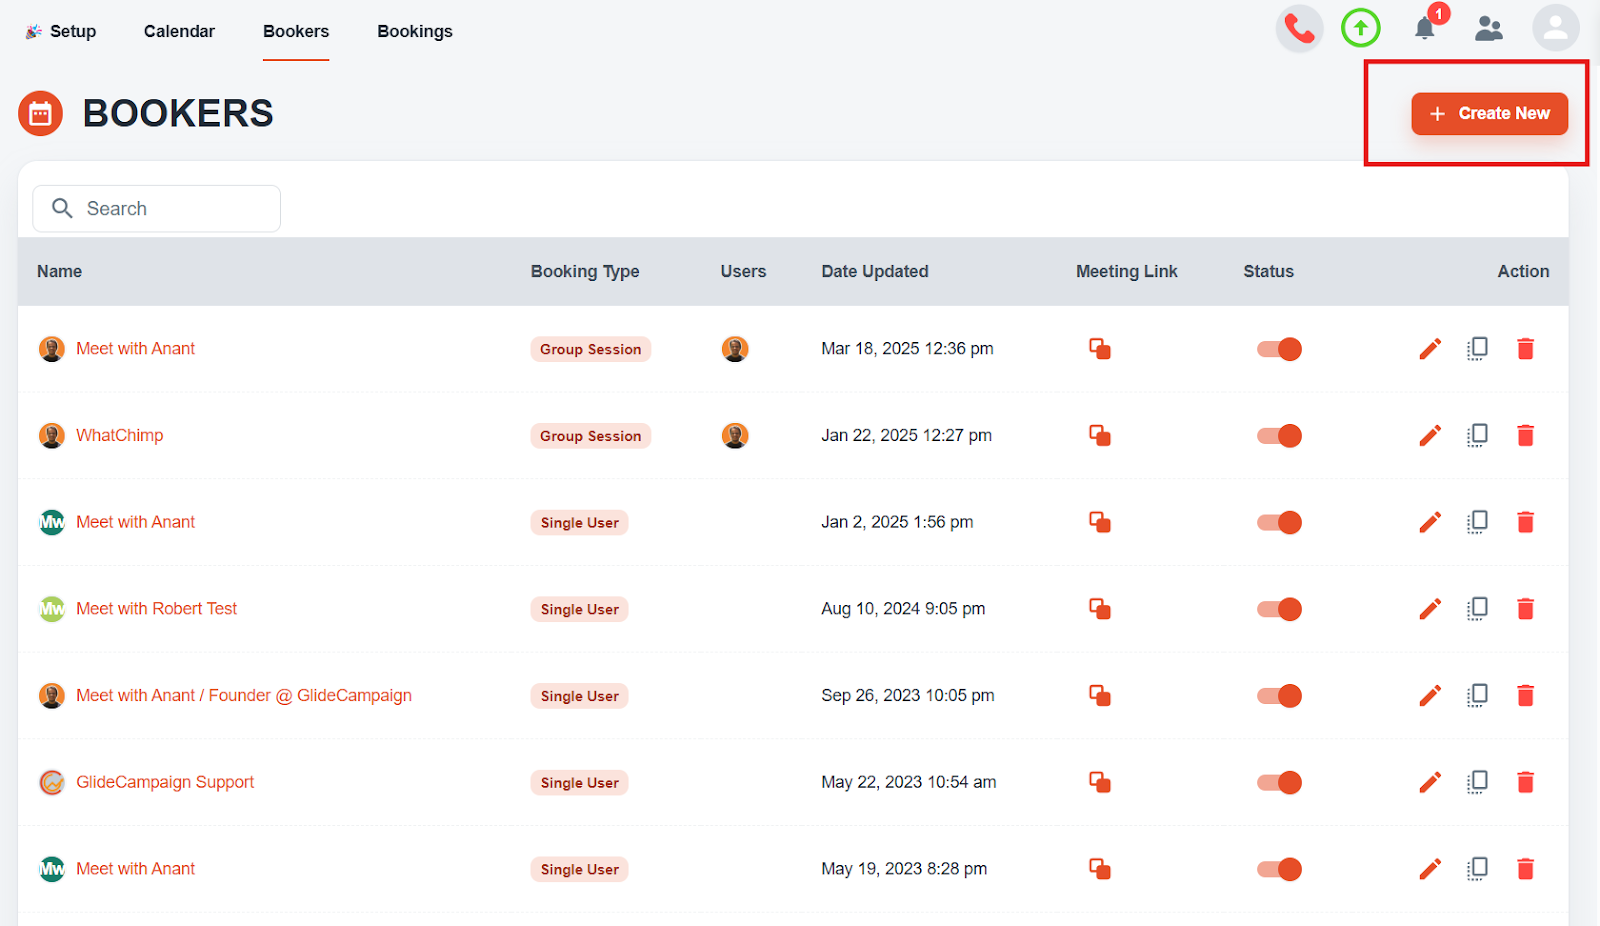
- To create a new calendar, click the “Create New” button at the top right.
- Open the Meeting Event Options tab.
- This is where you’ll adjust availability and meeting settings.
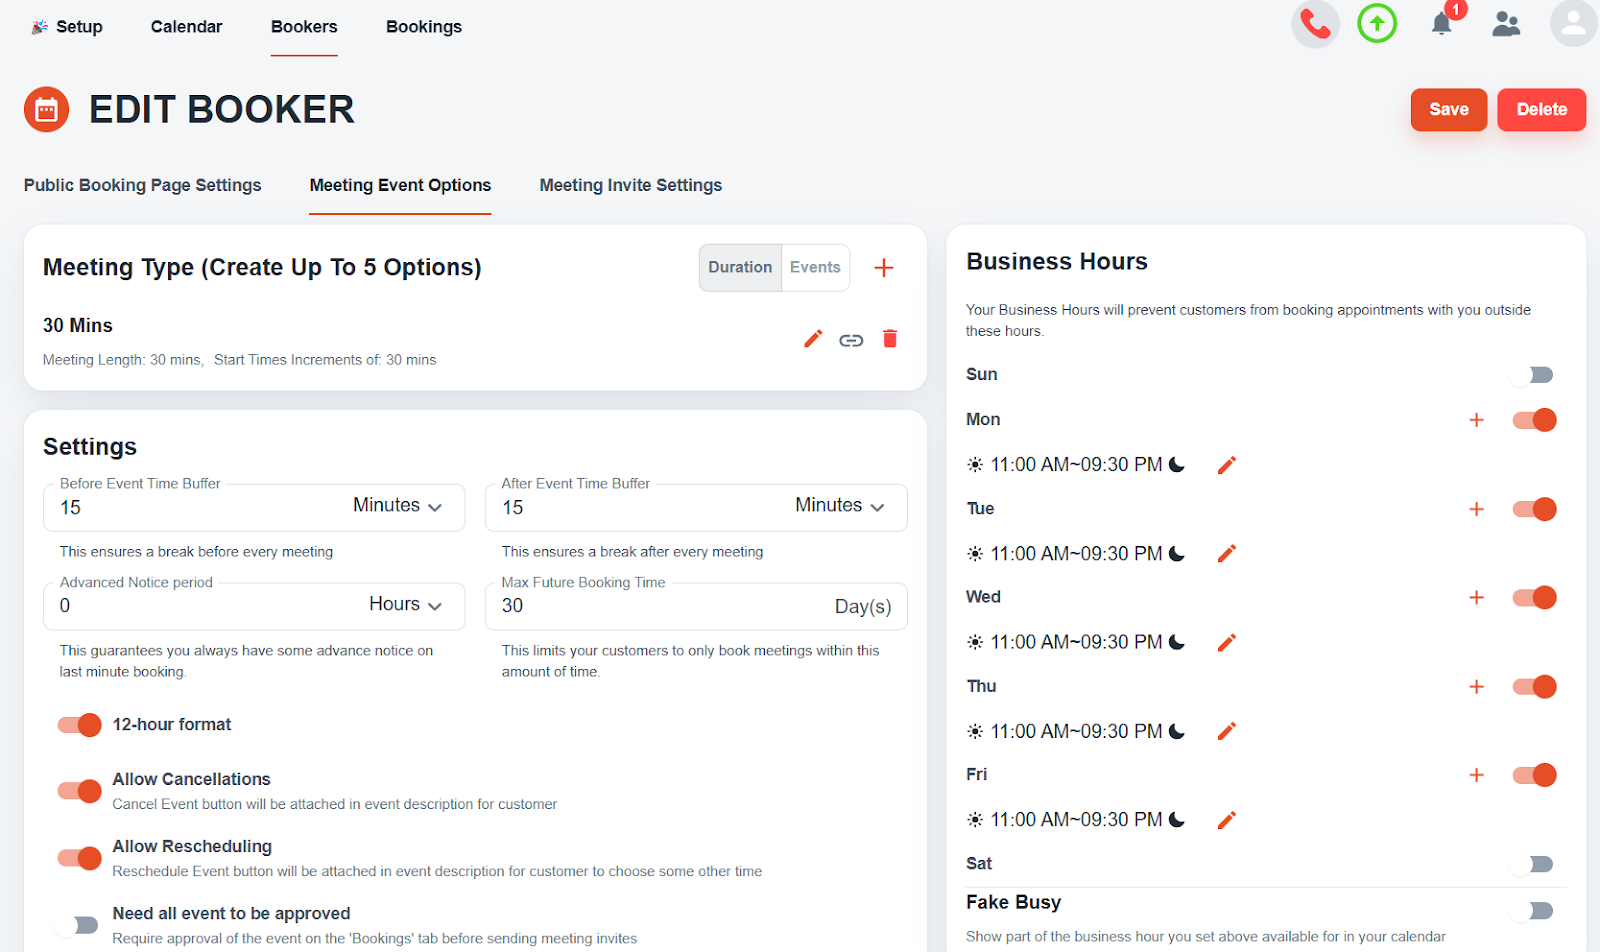
- Set your Business Hours.
- Choose the days and times you’re available for meetings.
- Click the pen icon beside each day to edit hours.
- Add multiple time slots if needed.
- Click the “+” button to add another time range.
- For example:
- 8:00 AM – 12:00 PM
- 1:00 PM – 5:00 PM (with 12–1 PM off for lunch)
- 8:00 AM – 12:00 PM


