Every automation flow starts with a trigger—an event that tells your system when to begin the flow. Whether you call it a workflow, flow, or automation, the process is the same.
1. Locate the Trigger Section #
- Open your flow or automation.
- At the top center of the canvas, you’ll see a box labeled “Add New Workflow Trigger.”
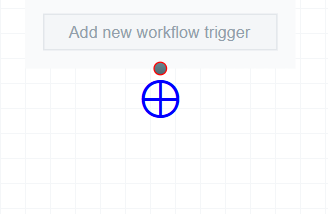
- Click on this box to open the trigger setup menu.
2. Choose a Trigger Type #
- A panel will slide in from the right.
- Select the “Workflow Trigger Type” you want to use.
- Common triggers include:
- Form submission
- Tag added
- Contact added to a list
- Appointment booked
- Form submission
- Common triggers include:
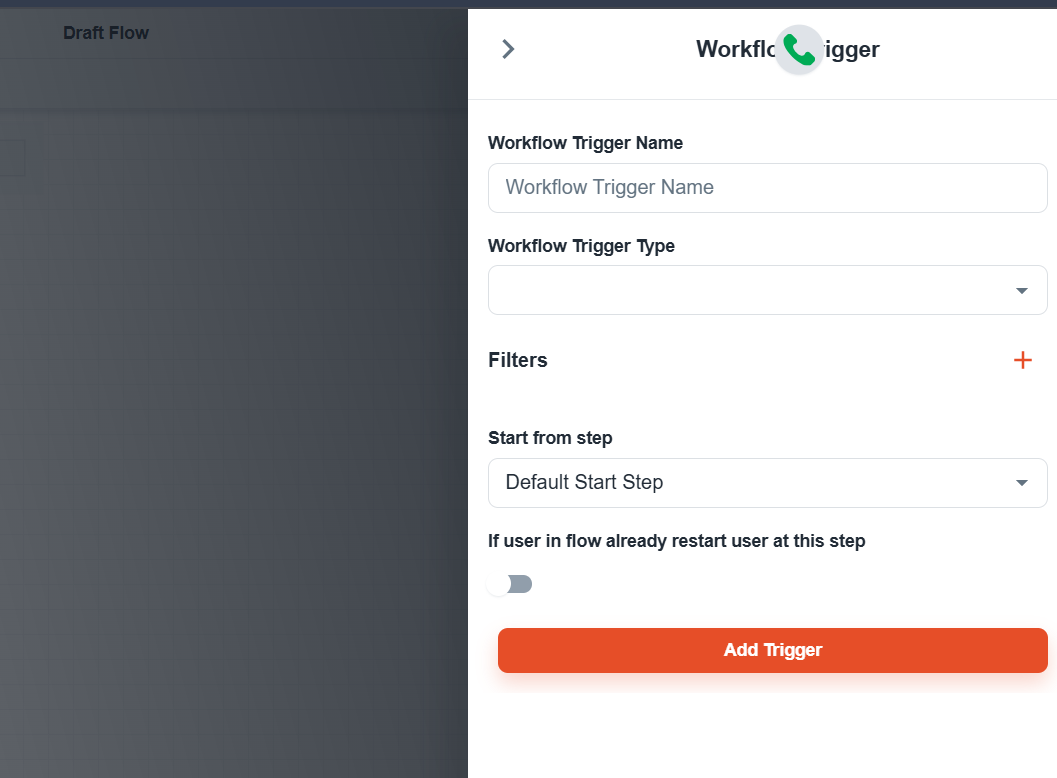
3. Optional Settings #
- Rename the Trigger to keep your flows organized.
- Add multiple triggers if you want the automation to start from several different events.
- Set a default start step later on, once the flow is built.
- Use advanced options to control how users re-enter flows:
- Restart at a specific step
- Skip if already active in another flow
- Restart at a specific step
4. Add Conditions If Needed #
- While you can apply filters directly to triggers, you may find it more flexible to use a “Condition” step inside the flow.
- This allows for more dynamic filtering based on user behavior or attributes.
Quick Tip #
Most users start with a basic trigger like a form submission or tag being added. It’s the easiest way to launch a flow and can be customized later as your automation gets more advanced.


