Easily sync your calendar with the platform for seamless scheduling. Follow these steps to connect your Google Calendar:
- Click on “Calendar” in the left sidebar.
- If it’s your first time, click “Add New Calendar”.
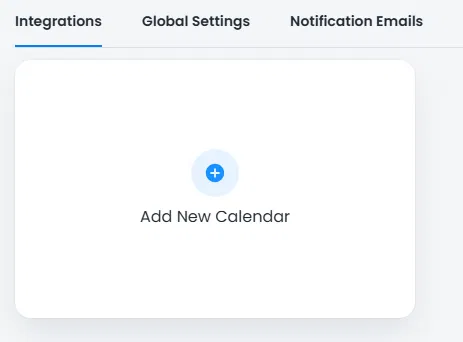
- Click the + button and select “Google Calendar”.
Google Calendars sync with almost every other calendar system out there, so if you’re using iCal or something else you can easily sync appointments from the Google Calendar to your other 3rd party calendar.
- Sign in to your Google Calendar account.
- You’re all set! Your calendar is now connected.


