How to Add the ‘Send Email’ Step to a Form Automation
Step 1: Add the ‘Send Email’ Step #
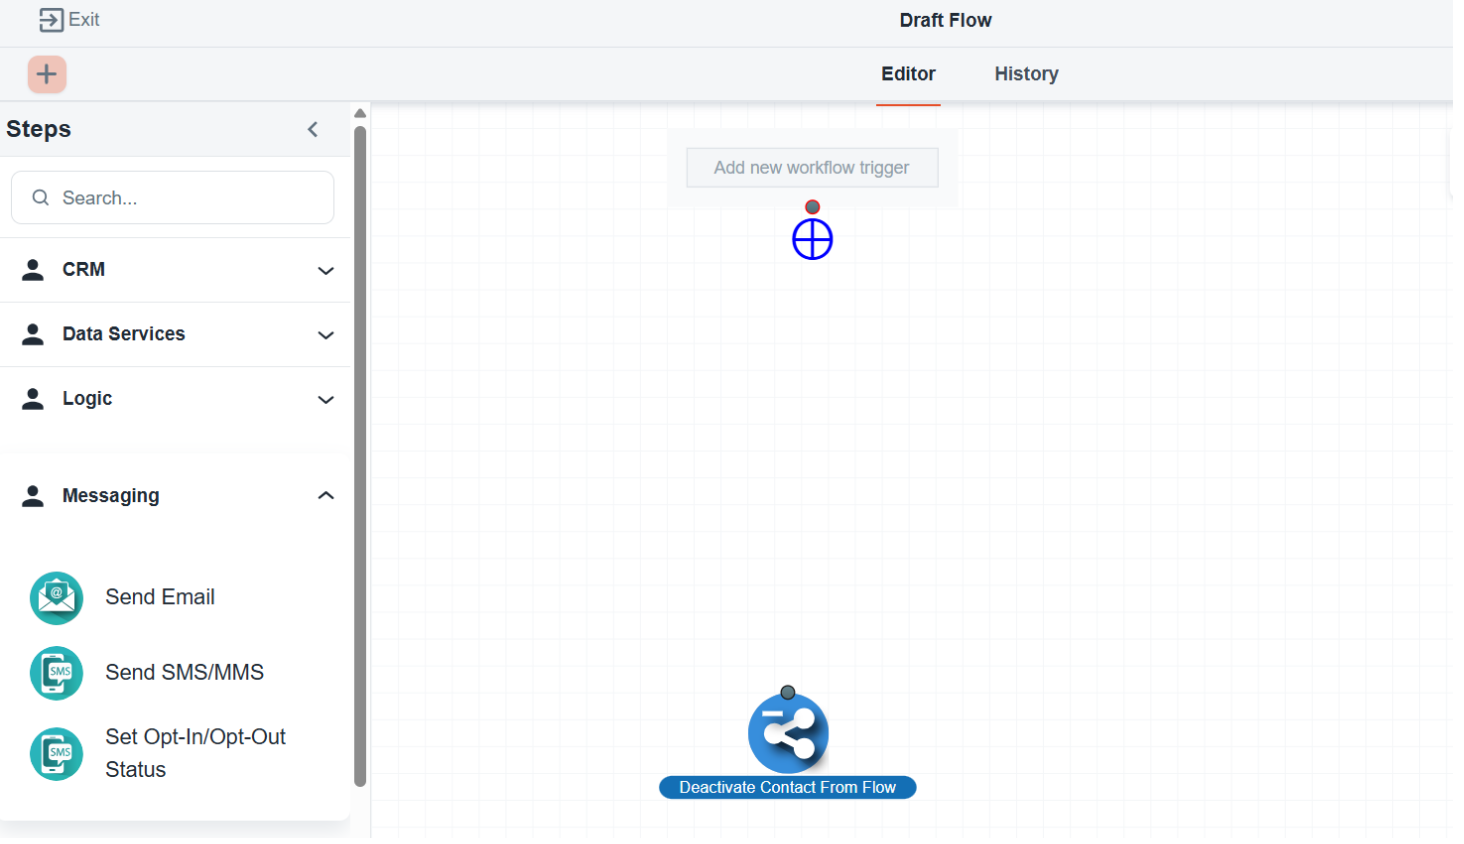
- In your automation flow, go to the Messaging section.
- Drag and drop the Send Email step into the flow.
Step 2: Configure the Email Step #
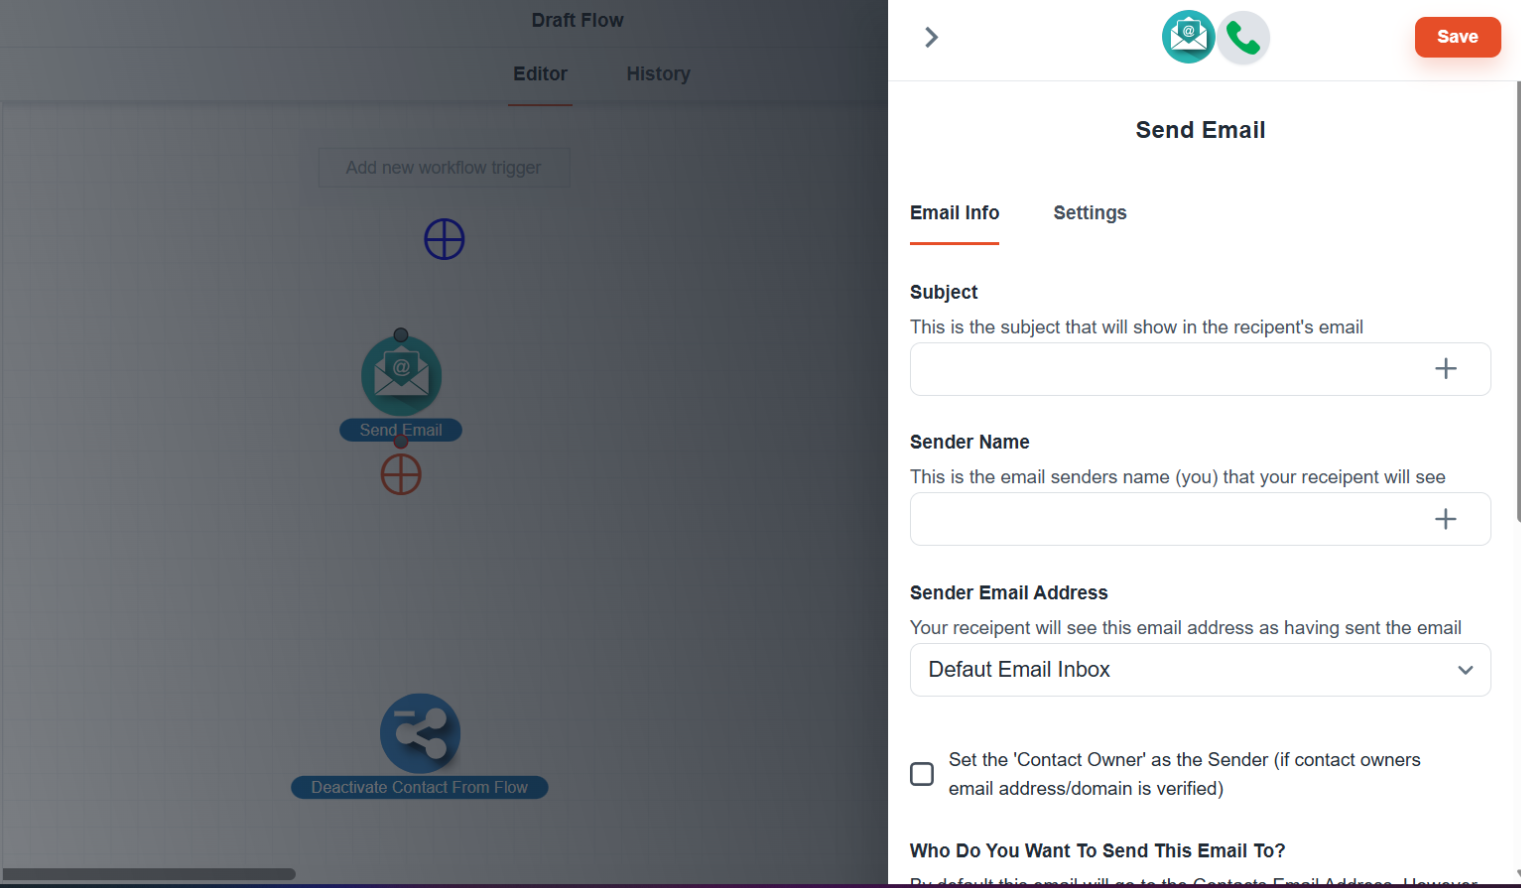
Select Email Recipient #
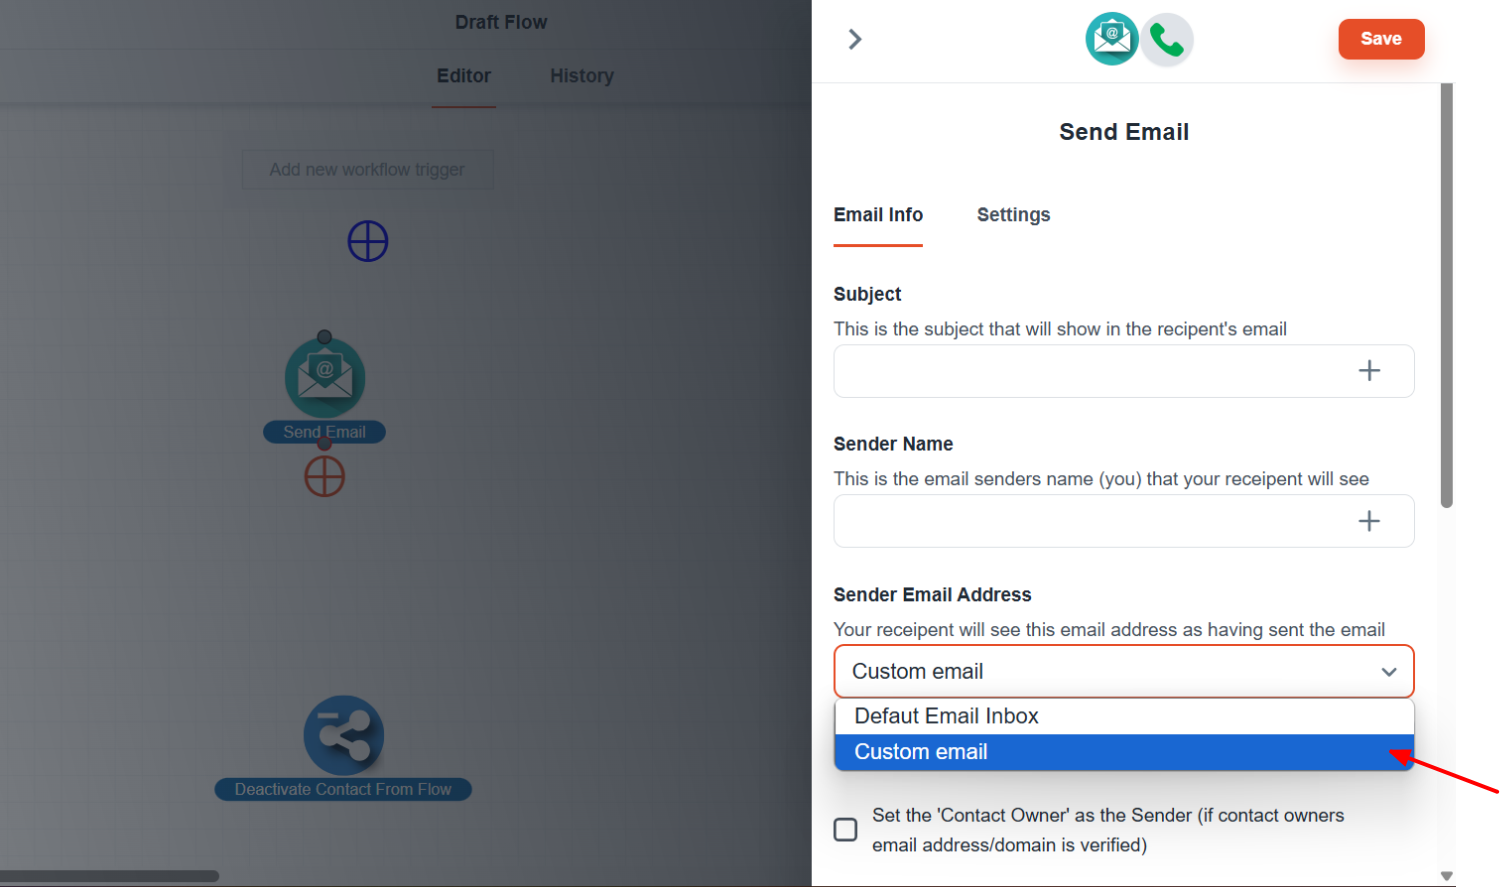
- Under Who Do You Want To Send This Email To?, choose Custom Email.
- Enter the custom email address you want notifications sent to.
Add CC/BCC Recipients #
- Click the Advanced toggle.
- Add email addresses under CC and/or BCC if you’d like others (e.g., contact owner) to be notified.

Step 3: Build the Email Content #
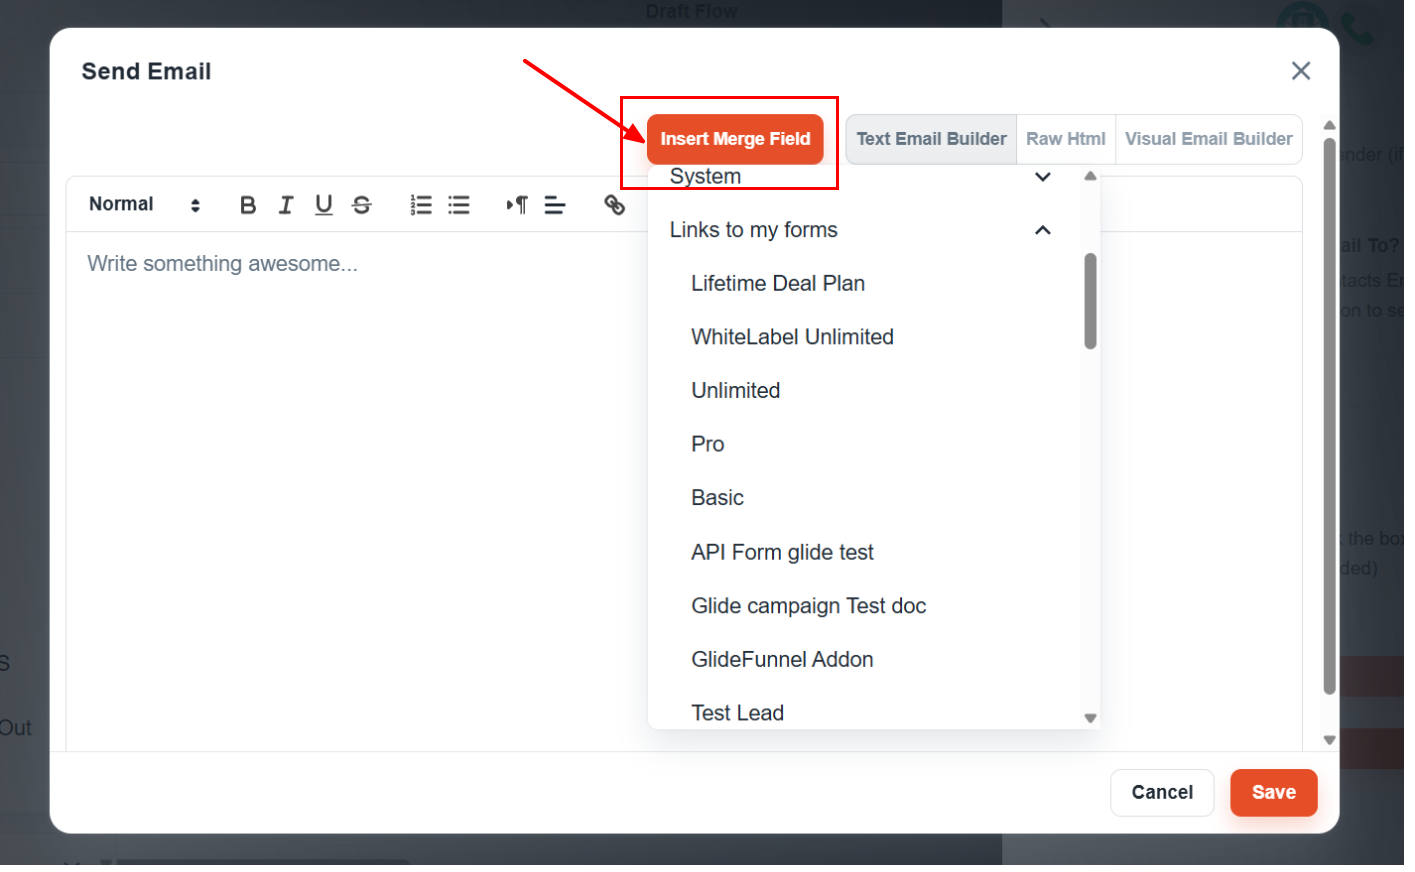
- Click the Email step again and select Edit Email.
- The email editor will open.
Insert Dynamic Fields #
- Click Insert Merge Field to add data from the submitted form.
- After clicking a dynamic field, it’s copied to your clipboard automatically.
- Paste the field into the appropriate location in your email template.
Step 4: Finalize the Flow #
Then click Save and Publish to activate the automation.
Once your email is designed, Save the step.


