You can easily integrate a chatbot widget into your website, whether it’s built on WordPress, Wix, or any other platform, by following these simple steps.
1. Add a New Inbox as a Website Widget #
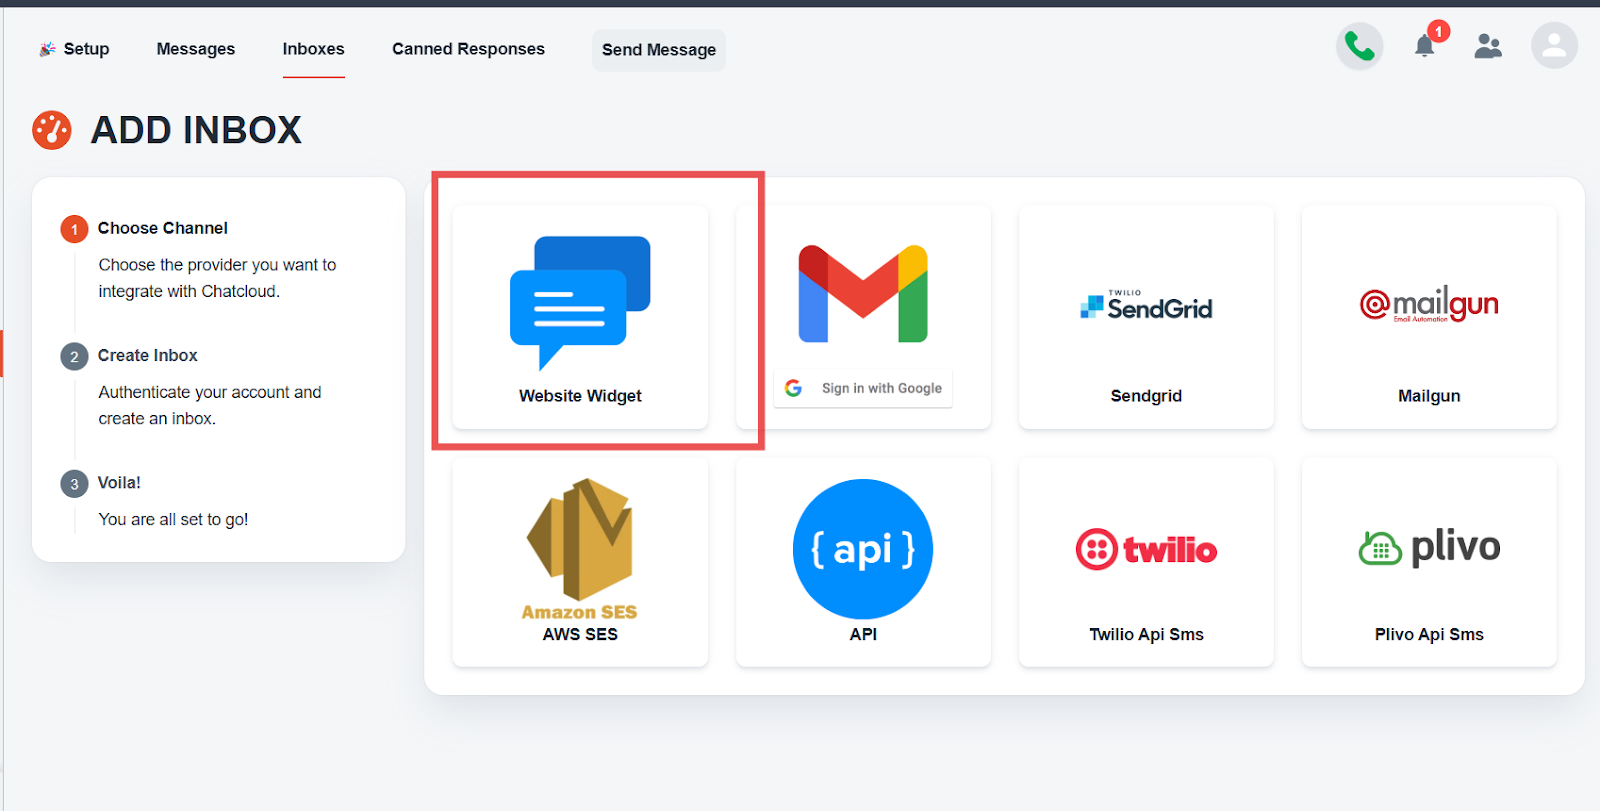
- Navigate to Chat and click on Add New Inbox.

- Select Website Widget from the list of channel options.
2. Set Up Your Chatbot #
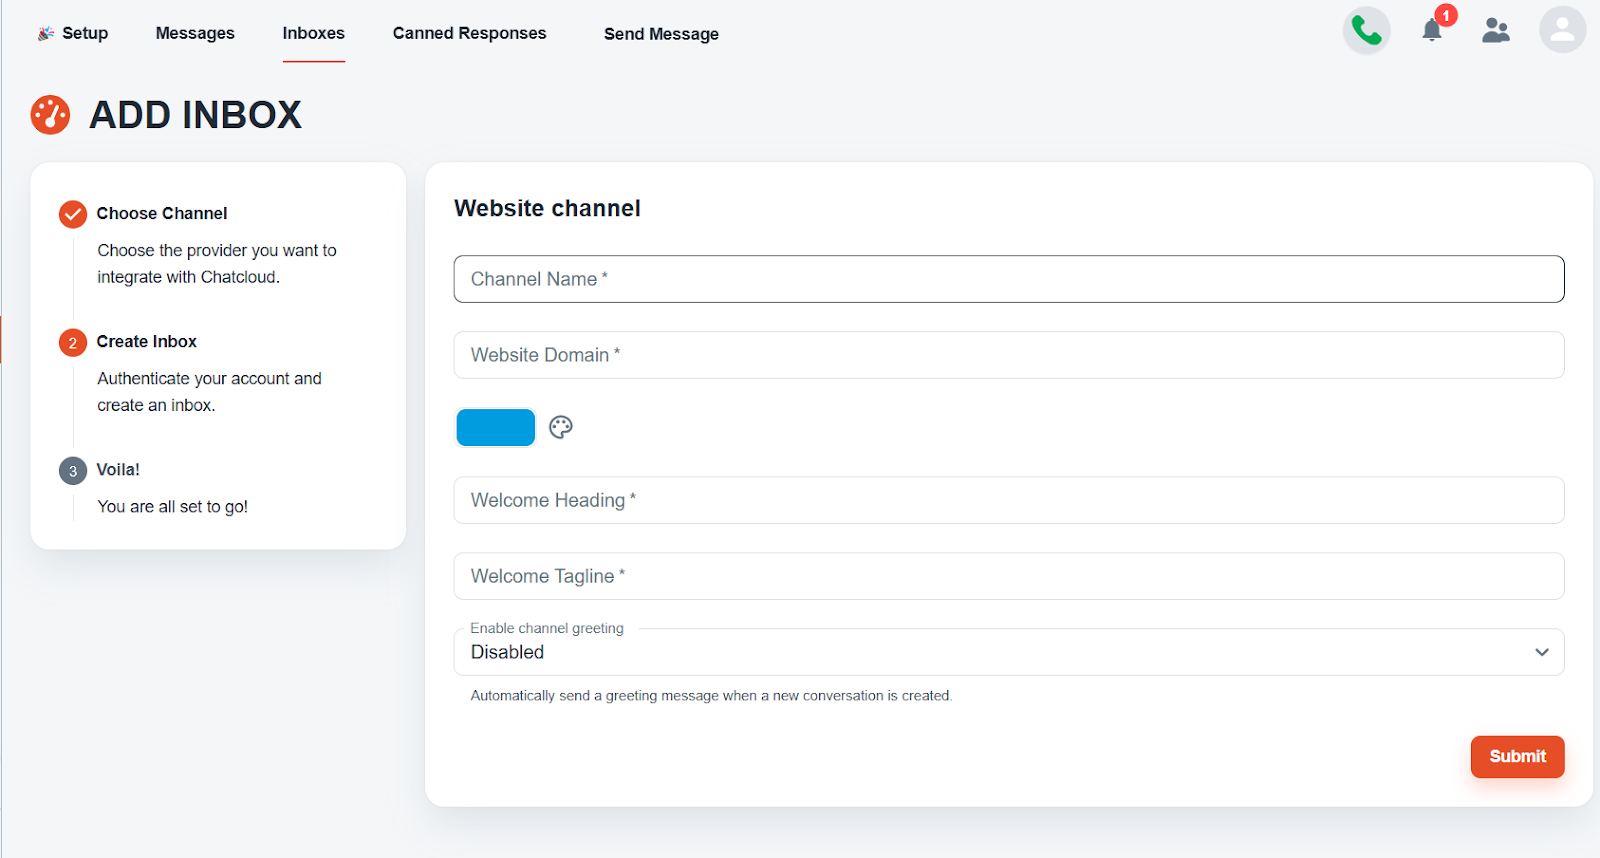
- Enter the Name of your chatbot.
- Add your Website Domain.
- The Welcome Heading and Welcome Tagline are optional fields you can customize.
- Click on Submit to proceed.
3. Copy and Add the Script to Your Website #
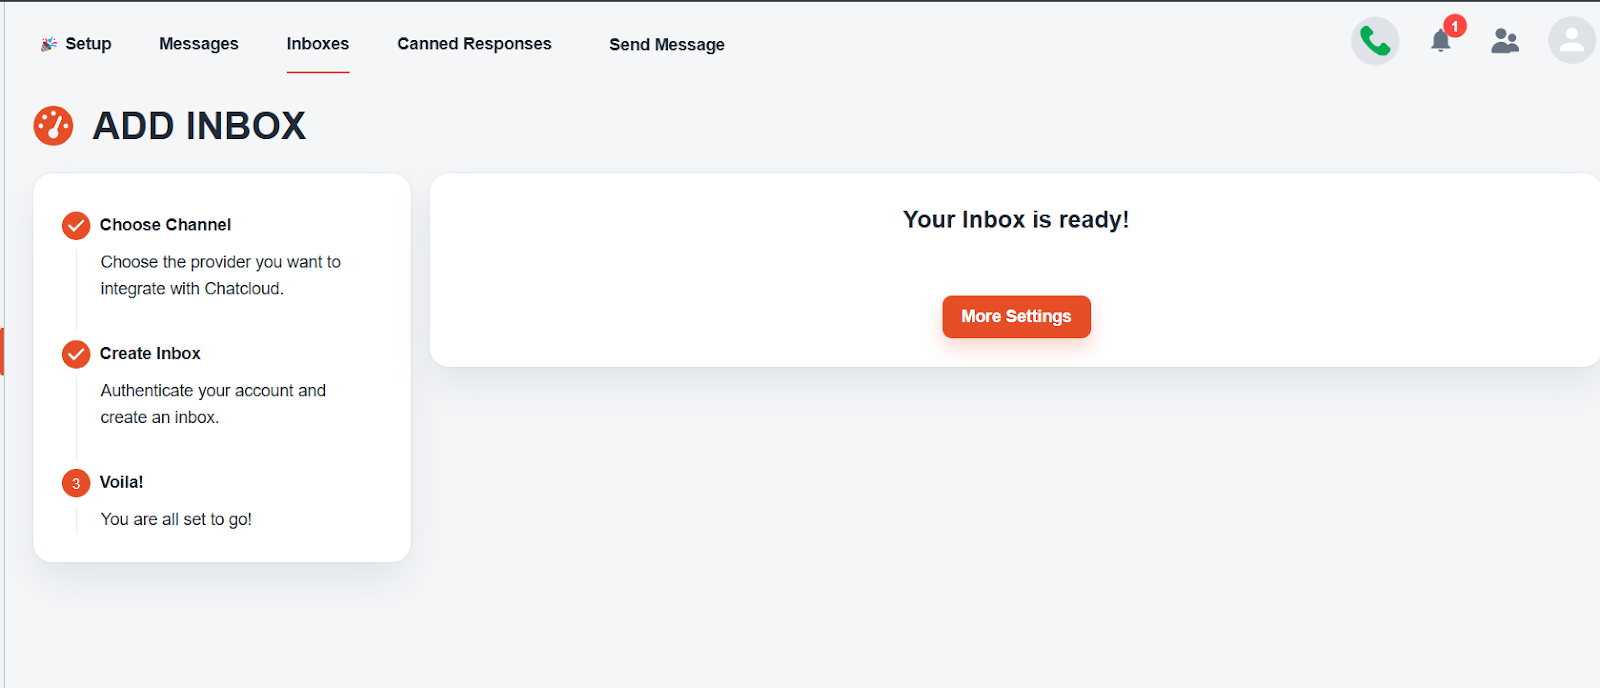
- Once your inbox is set, click on More Settings and you will see a script generated for your website.
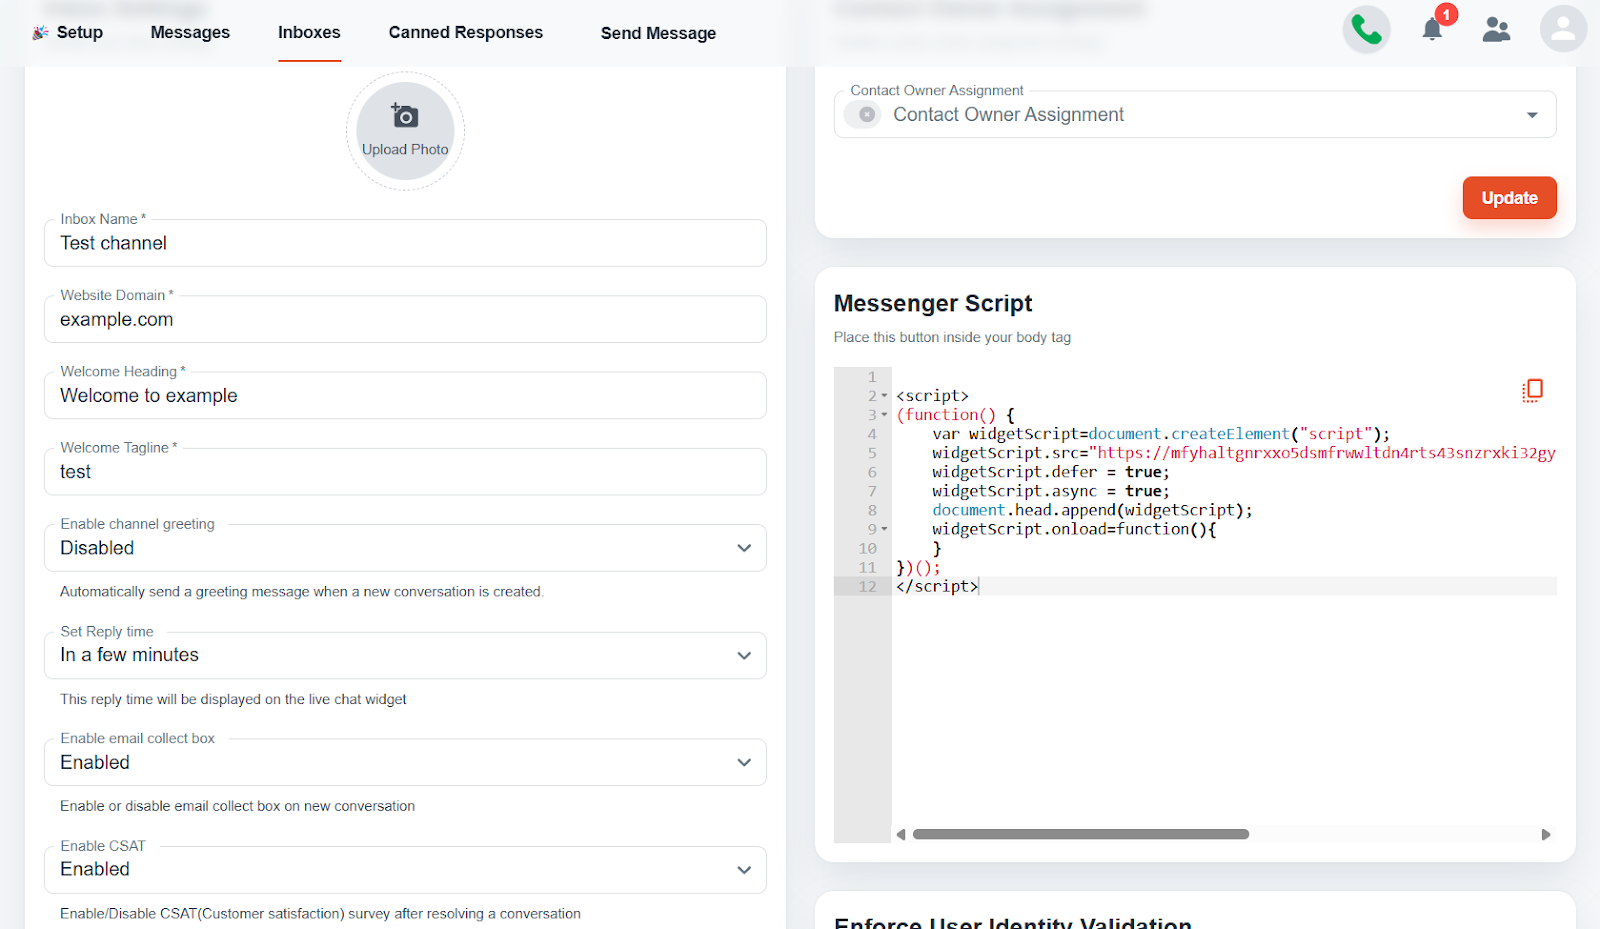
- Copy the script and paste it into your website’s code.
4. Start Using the Chat Widget #
- After embedding the script, your chatbot widget will be active on your website.
- When a customer starts a conversation, the chat will automatically appear in your inbox for further action.


